Intro
__________________________________________________________
I'll be making a procedural orange shader, that looks good at closeups. So this is an exercise in procedural noise layering. The main take away here,
- identifying noise layers/general analysis
- chaining bump maps
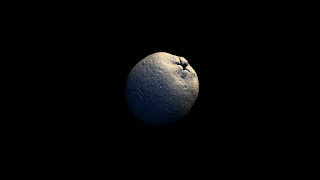
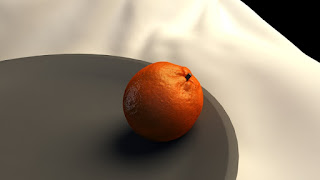
I always start out with references, so here are some,
This pretty much has all the properties an orange in detail. I want an extremely red orange, so I will push it even further than the above image.
I can quickly outline some bump noise patterns I can see here,
- high frequency, ~0.4mm to 0.8mm, these are the cellular bumps and color at extreme close up
- medium frequency, there are some dimples ~0.5mm to 1mm, but their profile is such that its more visible
- low frequency, large scale knobbiness of the orange skin, some browning skin patterns
Some notes on the color, sss, and reflection
- high frequency leathery skin thats even more pronounced in SSS
- high glossy specularity with color at the end of the falloff
- to determine the average SSS, look at the light side to dark side fall off. Even
Bump
__________________________________________________________
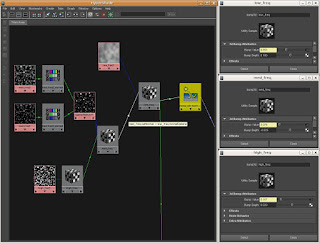
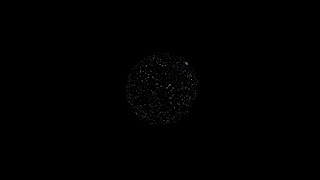
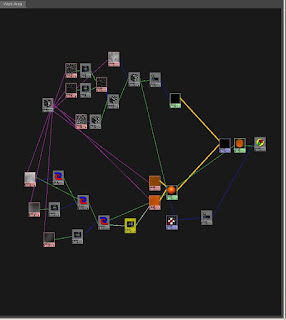
From my noise pattern outline, i quickly created 3 3d textures,
 |
| Bump Sub Tree |
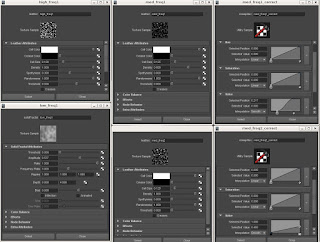 |
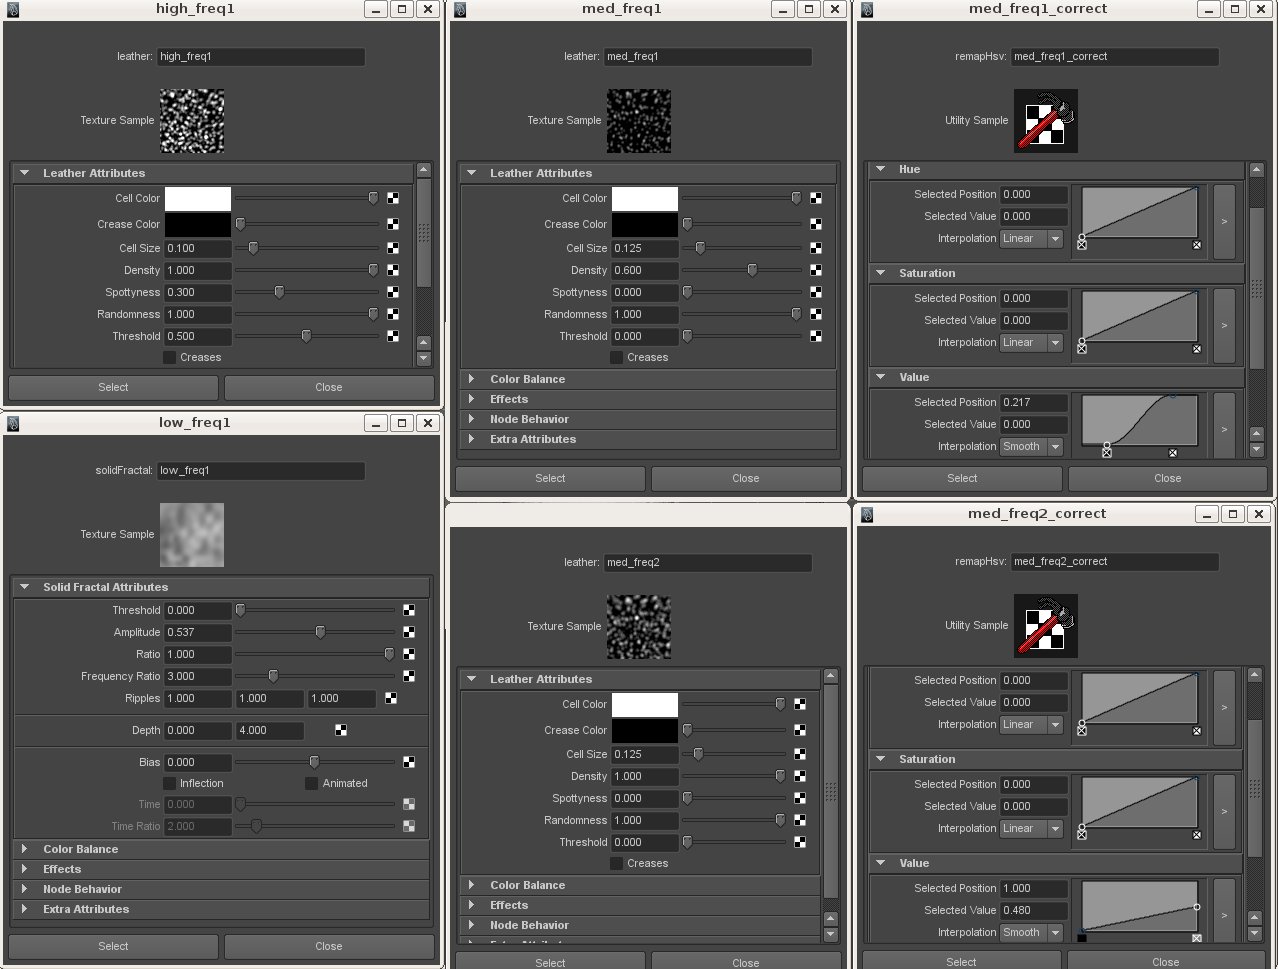
| Low, Med, High Freq Map Settings |
I used leather 3d texture maps for the high and med freqeuncy maps and a solid fractal 3d map for the low frequency map.
 |
| High Frequency Pattern |
 |
| Med. Freq. Pattern 1 |
 |
| Med. Freq. value correct 1 |
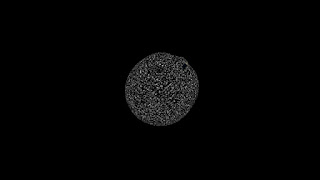 |
| Med. Freq. Pattern 2 |
 |
| Med. Freq. value correct 2 |
 |
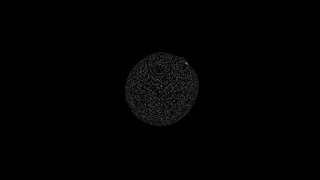
| Low Frequency Pattern |
 |
| Final bump output |
I tweaked each individual bump pattern separately, determining that the high frequency patterns are small bump, while the medium frequency pattern are sharp holes, and the low frequency patterns are bumps as well. The geometry provided have built in low frequency noise as well. I
chained each bumps' outnormal to the next bumps' normal camera to achieve the final bump output.
__________________________________________________________
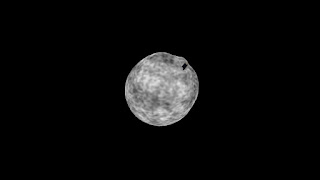
 |
| diffuse, spec, bump |
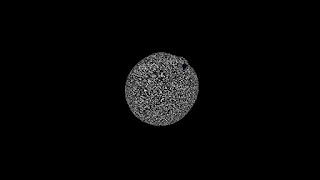
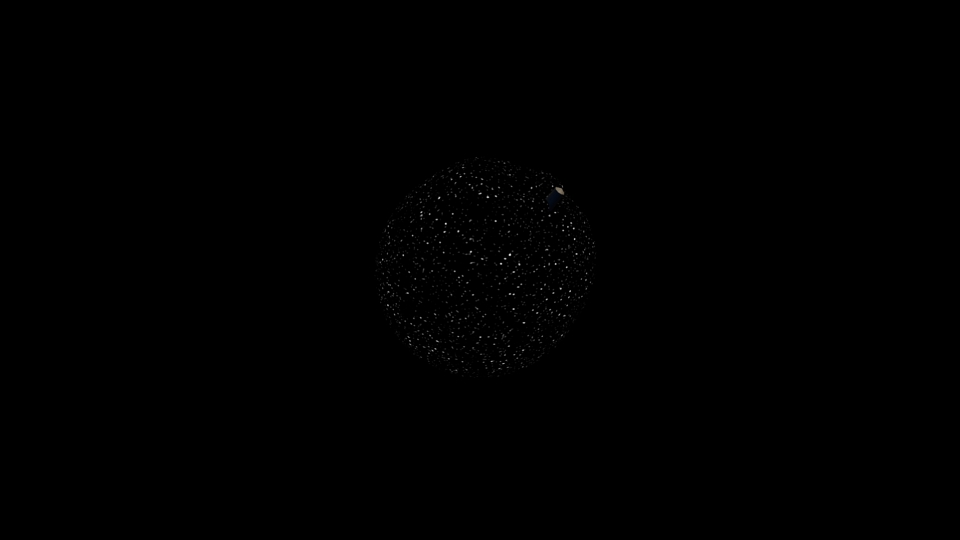
I''ll work on the diffuse and sss at the same time, but first, I duplicated the orange and scaled it up a little.
The reason being, I need to take a look at the SSS falloff, and for that I need to see how far the SSS penetrates into the shadow side of the orange. Don't worry about how the bump looks so strange, after adding SSS the high contrast washes out.
 |
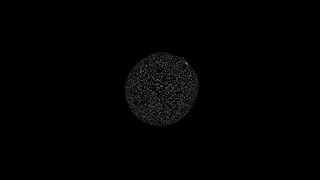
| 2.0 epidermal radius |
For the above render, the epidermal radius is set at 2.0, which washes out any shadows, so i'll set it down to 0.2.
 |
| 0.2 epidermal radius |
This gives the shadow a softer edge and the light penetration is consistent with my reference.
 |
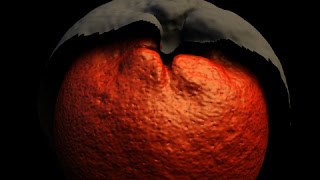
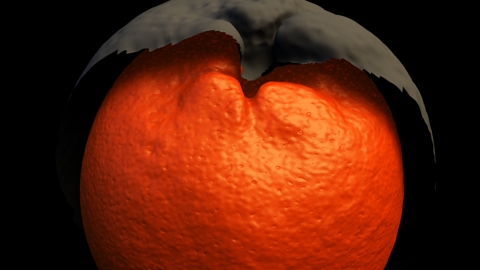
| 8.0 subdermal radius |
The subdermal scatter looks like what I want to achieve, albeit not as intense as I am showing it here. If you shine a flash light, hold it close to the orange, you will discover that at high intensities, the light travels quite far inside the meat, and the skin has these little holes that light penetrates in and out of. Or the holes might not be holes but variations in the thickness of the orange peel.
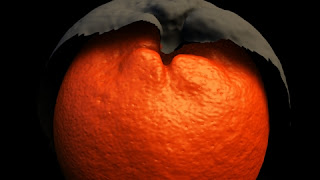
 |
| 2.0 subdermal radius |
Looks about the same, still too far inside the shadows
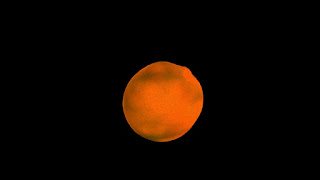
 |
| 1.0 subdermal radius |
Now, for the diffuse color, using a ramp with its built in HSV noise is good enough if the UV seams are hidden well enough. However, the models provided, and a lot of the times, UVs are an afterthought. As a shader artists, 3d procedural textures, custom coded or procedural texture trees(hypershade, slim, mental mill) are preferred.
 |
| diffuse on surface shader |
 |
| Final Shading Tree |
 |
| Final Render |


2 comments:
Nice work... by any chance could you post your maya file?
tylerart try making your own!
Post a Comment