Intro
__________________________________________________________
A little about what i'll be trying to achieve with this tutorial,
1. create a grape shader(and other various shaders)
2. create a grape phenomenon shader
3. create presets for the grape shader and adapted to use with cherries.
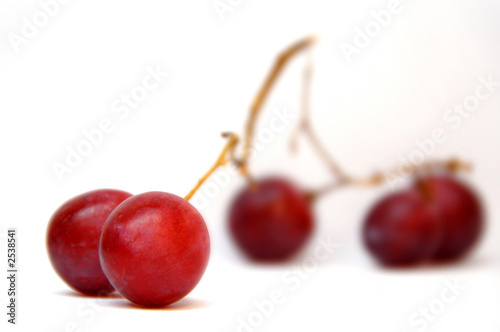
Ok, so we want to make some delicious fruity shaders, seeing theres an available and free fruit platter over at 3drender.com's lighting challenge we'll just start with that. Next up, we'll need to gather some references,
 |
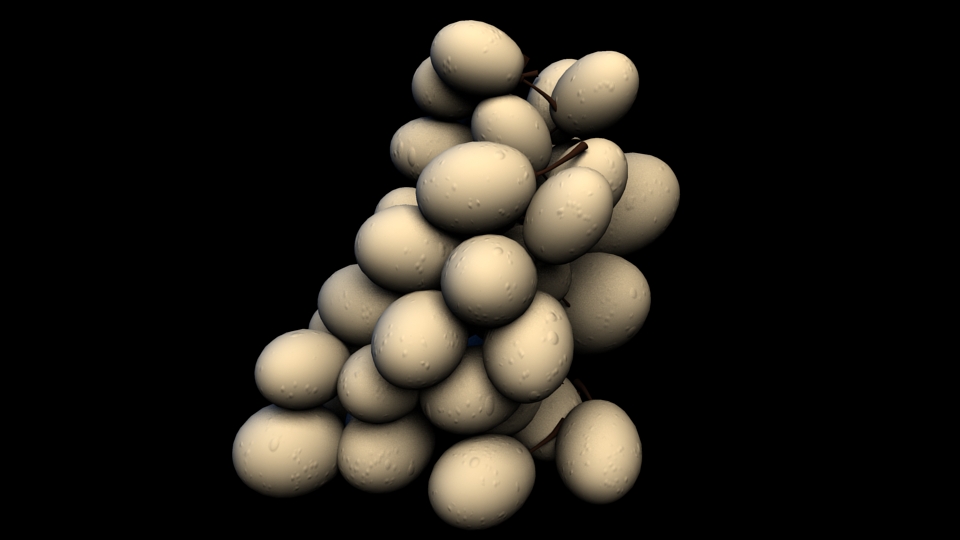
Image 1
HSV range of grapes |
 |
| Image 2 |
 |
| Image 3 |
 |
| Image 4 |
 |
| Images 5 |
 |
| Images 6 |
 |
| Image 7 |
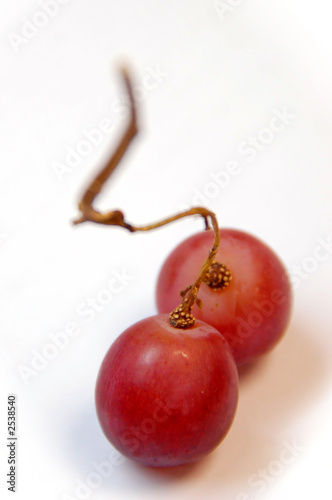
There are several varieties of grapes, with hue variations between purple and green. I have decided to proceed with the red/maroon grapes.
From the reference we can start determining the number of layers and shading component this shader would require.
The Basics
__________________________________________________________
- diffuse
- reflection
- specular
- sss
- rim
1. in closer examination, the grape skin has some white discoloration to it.
2. the reflection is from the water, and there is a glossy reflection/spec from the skin
3. two layers, the skin and the meat
4. heavy rim effect, combine with reflection fresnel effect
1.Diffuse
__________________________________________________________
One thing to remember is that since we will be adding SSS the diffuse component should be darker than what appears in the photo. Try peeling a grape skin, and flatten it out on the table, that should be the diffuse color component(and even darker than that for effect). There are some white discoloration on the grape skin, from what i read they are molds?. I'll add the effect, but tone it down, so it still looks real, but more appealing.
 |
| Diffuse Component Sub Tree |
 |
| Diffuse Component(on surface shader) |
For the white mold i used two 3d textures, a 3d noise and multiply it by a crater to break up the pattern. And for the base, I use a ramp as a solid color, and add small bit of HSV color noise. Breaks up the monotony of solid colors. Add the white mold to the base, but set the alpha of the mold layer to something low.
Key Settings:
- Base color
- White mold alpha
2. Reflection
__________________________________________________________
Look closely at the reference, particularly images 2 and 6. In image 2, the reflection intensity are higher due to the water. In image 6, we can see the base glossy reflection/specularity. We should also consider whether the white mold has any effect on base glossy reflection/specularity. Before you start, get a hdr map in there, there are three ways to do this,
- Image Based Lighting under render globals
- mib_lookup_spherical connected to the environment slot in the Shading Goup
- if theres a slot in the node
I use the second method as its more flexible.
 |
| Reflection and Water Reference |
I'm aiming for the glossy base reflection of the grape skin first. So I'll put in a mib_glossy_reflection.
 |
| Glossy Reflection |
Here we have glossy reflection at its default settings(environment color at white), the environment color is really just the intensity(really terrible that Mental Ray lacks consistency across the board). Notice how the area light disappeared, and seems to be a blackhole, not good. Most of the time mib_glossy_reflection will work for me, however, i need to tweak the surface shading normals(ie bump) on my reflection, so i'll use the mia material instead.
 |
| Base MIA Glossy Reflection |
For MIA glossy reflection, i set the BDRF curve to 1.0, and 90 degree refl intensity to 0. As I don't want the rim/fresnel effect here. It still shows, however, but neglible. Tweak the glossiness and intensity and turn off everything else.
Next, for the water, we need to analyse the noise pattern, scale, and frequency of the droplets. So some observations,
- droplets are ~0.5mm to ~2mm in diameter
- droplets occur more on the top, and less on the bottom
- a single large droplet on the bottom, on some grapes.
 |
| Droplet Tree |
 |
| Lrg and Sml Droplet Settings |
 |
| Mask Settings |
I will use the leather 3d texture node for both small and large droplets, and a volume noise for masking out areas for small droplets. Note the remap HSV, both large and small droplet uses the same curve, the curve defines the profile of droplet.
 |
| Droplet bumps |
 |
| Scale Y |
I'm testing with a lambert shader. Since we're using a 3d texture, connect the map to a 3d bump > misss_normal > mia bump slot. The large drops are too round, so I will scale the Y axis of the placed3d node to simulate the gravity effect on the droplet. I scaled the small droplets the same way, but less.
 |
| Mask |
 |
| Reflection + Refraction |
 |
| Base + Droplet |
 |
| Value Correct |
I will turn off the diffuse component and turn on reflection and refraction now. I mapped the noise to an HSV remap to get the contrast and value for reflection and refraction. I corrected the final output with a HSV remap as the hottest highlights are blowing out, and the dark side reflections aren't showing up.
3. SSS
__________________________________________________________
Looking at the references, we can determine some properties,
- grape skin, should be similar to the diffuse layer, but brighter.
- the meat is yellowish, with vein patterns in them
- the back scattering is yellowish as well, to give that very translucent look
 |
| Shading network and settings. |
Theres plenty of SSS tutorials out there, so i'll just throw out the settings. I'm using the fast_SSS shader here. The diffuse color goes into the diffuse color slot here as well. Kind of skipping on detail methodology here, but the basic shading principles still apply here, Add noise to everything, and add noise to the noise.
4. Rim
__________________________________________________________
 |
| Rim Tree and Settings |
There are light side rims and the dark side rims. Using a sampler info node > ramp(v coord) > lambert(color), i can create the light side rim. I would first invert the ramp, then tweak the ramp for the rim thickness i desire.
the dark side rim would be like this,
A. sampler info > ramp > surface shader(color)
B. sampler info > ramp > lambert(color)
A-B = dark side rim, so use a layered texture and subtract it.
Notes: for B, i would set diffuse to a value between 1 and 3 to get a thin dark side rim. but anything greater than 1 i would add a Remap HSV and set the high saturation level to inverse of diffuse level. so if diffuse is 3, saturation would be 0.333. B. sampler info > ramp > lambert(color) > Remap HSV > layered texture.
5. Combining everything
__________________________________________________________
 |
| Final Tree |
 |
| Extreme Closeup |
 |
| Close Up |
 |
| Final View |
The droplet doesn't hold up that well under extreme closeups, but at that distance, the droplets becomes the focus, and a particle on surface + blobby solution will be better suited for our hero droplet.
Just before going for the final render, I turned on Final Gather, and I turned on indirect lighting for the lightmap as well. I went back and forth and tweaked the settings, the basic setup is there, however, the difficult part is balancing every aspect of the shader tree and coming to a conclusion on how YOU want it to look like. Sometimes, its easier to just go for a photorealistic look, but sometimes it looks better placing emphasis on several aspects. In this instance, I upped the SSS, specifically the back SSS, and left the reflection on relatively high.


3 comments:
really charming and detailed post. the droplets and reflections look promising. how about more fruits? like a disk of fruits?
thanks, working on other fruity stuff :)
Oh!! I imitate the shader you explained
But I wonder about How to 5.combining everything.
especially How to connect from the specular map to sss shader
where?... please ~ I need youre help.. hhh
simonmatthew@naver.com
Post a Comment